Gloryfades
Well-Known Member
Hey there RIU! I'm new to the site, but it looks like just the place I want to be. I'm doing a small personal grow in my closet using 3 CFLs (currently). I'm on day 5, but I'll take you on the journey from the beginning. ")
________________________________________
Day 1
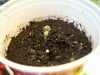
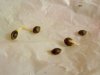
Pic#1:
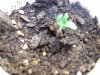
I germinated these seeds for about 8 days in a moist paper towel, but fucked up that process completely after I left them in my car overnight and they were exposed to a temp change from 80F to 40F in a matter of a few hours. However, I was naive to the damage I had done, and I plodded away.
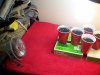
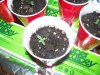
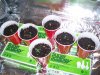
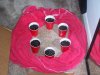
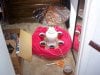
Pic#2:
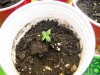
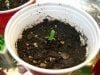
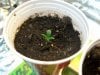
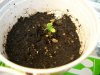
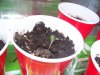
I saw a stack of Solo cups sitting in the wrapper in a lobby at my small school. I took those (there were only 6 sadly) and brought them home to wash, poke holes in, and fill with Miracle Gro "Potting Mix".
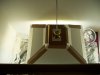
Pic#3:
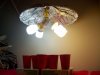
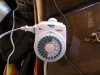
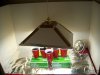
Desperate to get started, I was hasty in my attempts to set up a decent grow room. I bought a 100w 6200K CFL and shoved it into a lamp I had to take from the living room. Hopefully the roommate, unawares, would not notice the lamp was AWOL.
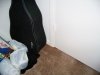
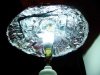
Pic#4:
I made a reflector out of aluminum foil and wire and sat it on top of the lamp. It didn't do it's job well, but it was a hell of a lot better than nothing at all, I suppose.
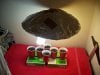
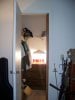
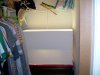
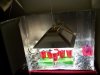
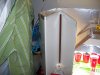
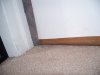
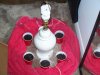
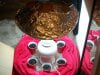
Pic#5:
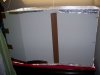
Everything was placed in my closet as far as the lamp's cord would let me go, on top of celophane I had put down to catch drainage. The towel around the outside was to catch runoff and insulate the soil, however little it may.
Pic#6:
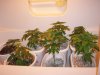
You can see how cramped everything was... definitely not Feng Shui, but it'll do at first.
________________________________________
Day 1
Pic#1:
I germinated these seeds for about 8 days in a moist paper towel, but fucked up that process completely after I left them in my car overnight and they were exposed to a temp change from 80F to 40F in a matter of a few hours. However, I was naive to the damage I had done, and I plodded away.
Pic#2:
I saw a stack of Solo cups sitting in the wrapper in a lobby at my small school. I took those (there were only 6 sadly) and brought them home to wash, poke holes in, and fill with Miracle Gro "Potting Mix".
Pic#3:
Desperate to get started, I was hasty in my attempts to set up a decent grow room. I bought a 100w 6200K CFL and shoved it into a lamp I had to take from the living room. Hopefully the roommate, unawares, would not notice the lamp was AWOL.
Pic#4:
I made a reflector out of aluminum foil and wire and sat it on top of the lamp. It didn't do it's job well, but it was a hell of a lot better than nothing at all, I suppose.
Pic#5:
Everything was placed in my closet as far as the lamp's cord would let me go, on top of celophane I had put down to catch drainage. The towel around the outside was to catch runoff and insulate the soil, however little it may.
Pic#6:
You can see how cramped everything was... definitely not Feng Shui, but it'll do at first.
Attachments
-
 75.5 KB Views: 79
 -
 95.9 KB Views: 66
 -
 90.5 KB Views: 102
 -
 108 KB Views: 121
 -
 107.6 KB Views: 122
 -
 94.3 KB Views: 104