PatchKid
Well-Known Member
So I've been doing this recirculating grow for about 2 months now and I decided to add in a 400 watt HPS for that extra boost of light that I wanted. More light = Higher temps for me. My temps got into the 77-80 degree range constantly and even though my water was moving and I have PLENTY of air going into the bucket, I still became a victim of early sings of pythium.
So I start googling and searching through the forums looking for DIY chillers, and smaller professionally made ones online and I see a lot of great home made ones that can be done with a wine chiller or mini fridge etc.
But I didn't want to go buy a mini fridge and run the extra watts, and didn't want to really disassemble anything (Im not that great with that sort of stuff) so I thought of a quick simple way to make a homemade chiller for a recirculating system! This will chill about 5-7 gallons of water 10 degrees below ambient temperature for about 24 hours before it needs to be refilled.
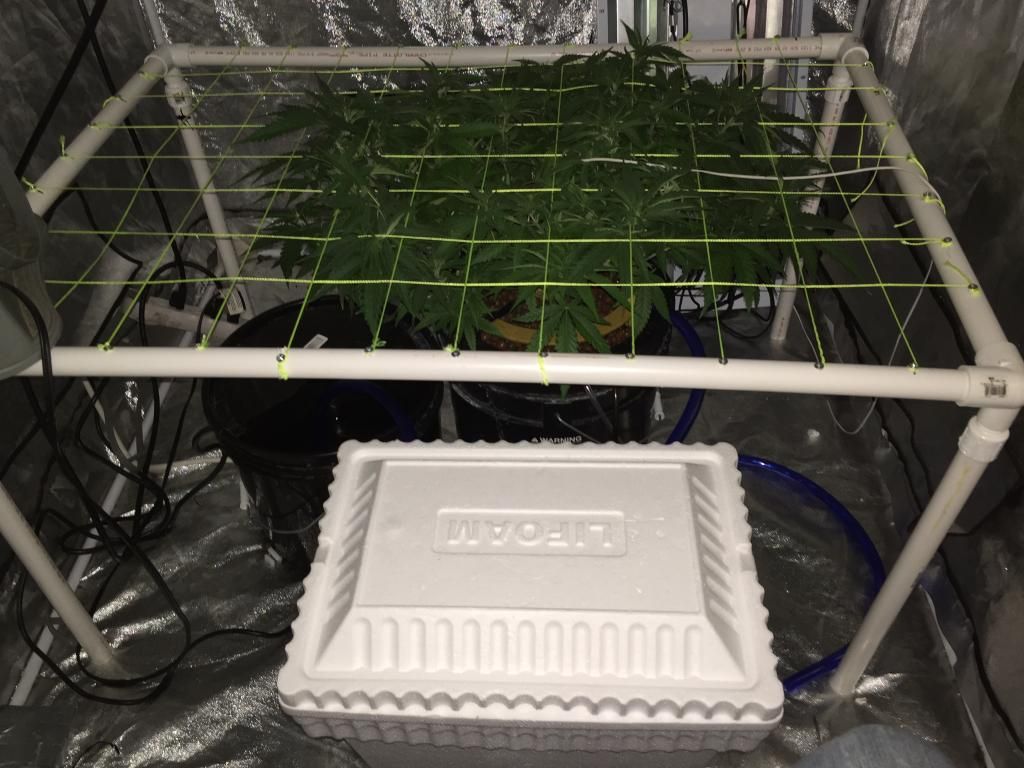
*ALSO* The way my system is set up I have a 3.5 gallon RES that pumps my soup into a drip ring, where it falls down into my 5 gallon bucket that has my roots, and gets recirculated back into the 3.5 gallon and so on........ So I'm sure you can make this chiller work with any system but I will be showing you how I hooked it up to mine

 Very similar to this model just the water gets put into a drip ring over a much larger net pot rather than directly into the bucket.

First off go buy a styrofoam cooler from walmart. Mine ran me 2 bucks.

Then you're gonna need to grab some longer tubing that fits your submersible air pump. Mine was 1/2 inch.

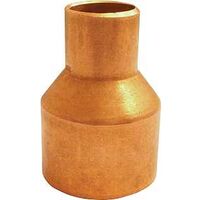
Once you have your tubing its time to head over to Lowes or Home depot and grab some COPPER tubing this time. I went with the 3/8 inch cause it was cheaper I just bought some 1/2 to 3/8 adapters that work quite well! I got about 10 feet for mine but the more you get the colder your water will be!


Now you can either go freeze up about 5-10 water bottles or go buy a couple of bags of ice for a few bucks. Either way you're going to need a constant supply of these daily so just make sure to have the equivalent amount in your freezer when you need to swap them out!
The next step is to fill up your styrofoam cooler about 50% of the way with cold water.
Next you are going to want to run your tubing from your pump into the cooler, as well as running another line from inside the cooler out into the drip ring (or wherever your cycling your water.)

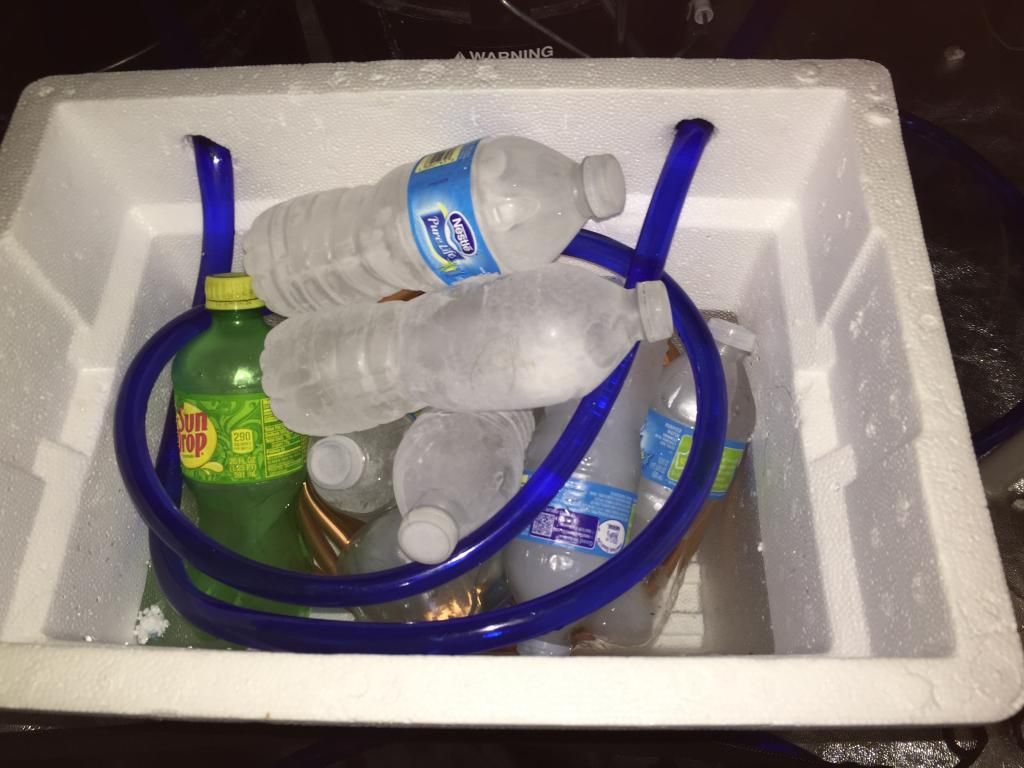
Finally submerge the copper tubing in the cold water and cover it with as much ice cold water bottles or bags of ice as you can! Then connect both ends into the poly tubing with the adapters.


Plug in your pump and let it circulate! Mine lowers my temperatures in a matter of minutes. I hope a lot of people who cannot simply afford a chiller at the moment or are like me and only have a single bucket that they need to chill. This has no mechanical parts and works quite well as long as you refill it
So I start googling and searching through the forums looking for DIY chillers, and smaller professionally made ones online and I see a lot of great home made ones that can be done with a wine chiller or mini fridge etc.
But I didn't want to go buy a mini fridge and run the extra watts, and didn't want to really disassemble anything (Im not that great with that sort of stuff) so I thought of a quick simple way to make a homemade chiller for a recirculating system! This will chill about 5-7 gallons of water 10 degrees below ambient temperature for about 24 hours before it needs to be refilled.
*ALSO* The way my system is set up I have a 3.5 gallon RES that pumps my soup into a drip ring, where it falls down into my 5 gallon bucket that has my roots, and gets recirculated back into the 3.5 gallon and so on........ So I'm sure you can make this chiller work with any system but I will be showing you how I hooked it up to mine

 Very similar to this model just the water gets put into a drip ring over a much larger net pot rather than directly into the bucket.
First off go buy a styrofoam cooler from walmart. Mine ran me 2 bucks.

Then you're gonna need to grab some longer tubing that fits your submersible air pump. Mine was 1/2 inch.

Once you have your tubing its time to head over to Lowes or Home depot and grab some COPPER tubing this time. I went with the 3/8 inch cause it was cheaper I just bought some 1/2 to 3/8 adapters that work quite well! I got about 10 feet for mine but the more you get the colder your water will be!


Now you can either go freeze up about 5-10 water bottles or go buy a couple of bags of ice for a few bucks. Either way you're going to need a constant supply of these daily so just make sure to have the equivalent amount in your freezer when you need to swap them out!
The next step is to fill up your styrofoam cooler about 50% of the way with cold water.
Next you are going to want to run your tubing from your pump into the cooler, as well as running another line from inside the cooler out into the drip ring (or wherever your cycling your water.)

Finally submerge the copper tubing in the cold water and cover it with as much ice cold water bottles or bags of ice as you can! Then connect both ends into the poly tubing with the adapters.


Plug in your pump and let it circulate! Mine lowers my temperatures in a matter of minutes. I hope a lot of people who cannot simply afford a chiller at the moment or are like me and only have a single bucket that they need to chill. This has no mechanical parts and works quite well as long as you refill it
Last edited:

